

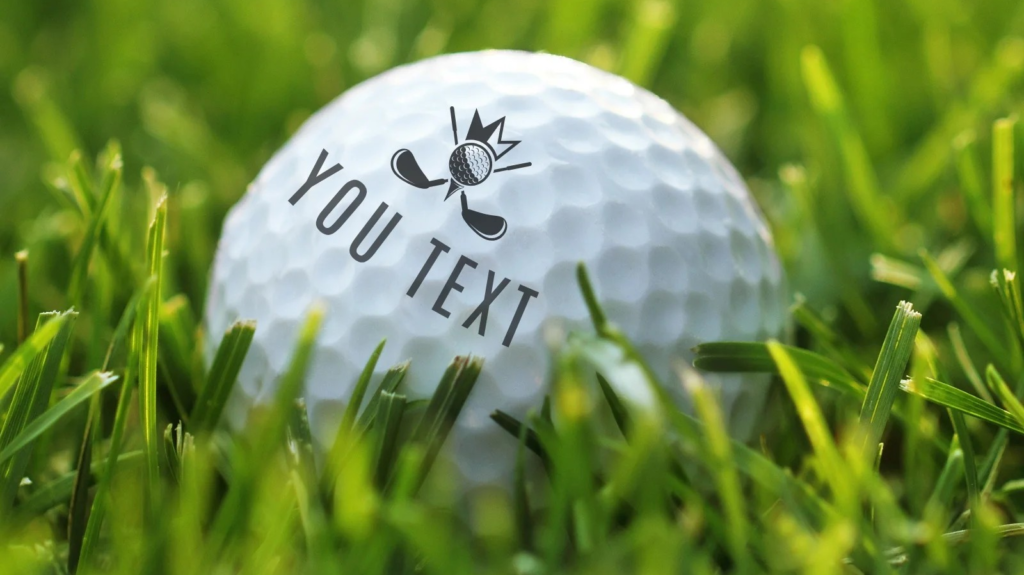
Every golfer has experienced the frustration of hitting an otherwise perfect shot into a shared fairway, only to spend minutes searching for a ball that looks identical to three others in the same patch of rough. Standard ball markings—a dot, a line, initials in smudged Sharpie—often fail the test of quick, definitive identification. Designing your own personalized golf ball stamp moves beyond this basic marking into the realm of true, durable customization. It’s a functional tool for identifying your property and a creative expression of your personality on the course.
This process involves more than just picking a font. It requires thoughtful consideration of design principles, stamp technology, and practical application to ensure your mark is both distinctive and legible under playing conditions. A well-executed design becomes a signature, instantly recognizable to you and your playing partners, streamlining pace of play and adding a layer of professional polish to your gear.
This guide will walk you through the essential steps, from initial concept to final application, helping you create a stamp that is uniquely yours and built to last.
The Foundation: Why Personalization Matters
At its core, a golf ball stamp serves a critical functional purpose: ownership. The Rules of Golf require you to identify your ball, and a unique mark prevents penalties for playing a wrong ball. But the benefits extend further. A clear, custom mark eliminates hesitation and speeds up play, especially in group settings or tournaments where multiple players may use the same model.
Psychologically, a personalized stamp can instill confidence. Seeing your unique identifier on the ball creates a sense of ownership and intentionality, a small ritual that focuses the mind before a shot. For businesses or teams, it transforms a golf ball into a networking tool or a symbol of unity. The move from a generic mark to a designed stamp signifies a shift from simply playing the game to curating your experience within it.
Key Design Considerations for Clarity and Impact
An effective design balances creativity with stark readability. A mark that looks great on a computer screen may become an indecipherable blob when stamped onto a small, curved surface.
Prioritize Simplicity and Scale
Complex logos with fine details, thin lines, or small text will not translate well. The best designs are bold, with clear negative space and limited elements. Think in terms of silhouettes. Will the core shape remain identifiable at a glance from a few feet away? A single, strong graphic element paired with 2-3 initials is often more effective than a crowded composition.
Contrast is Non-Negotiable
Your stamp’s ink color must create maximum contrast with your typical ball color. A black stamp is universally effective on white and yellow balls. For high-visibility red or orange balls, a black or dark blue stamp remains the best choice. Light-colored inks (like red on a white ball) can lack the necessary opacity and contrast in varying light conditions.
Typography and Legibility
If your design includes text, avoid overly ornate or script fonts. Bold, sans-serif block fonts are the most reliable. Ensure any letters or numbers are large enough and spaced adequately so they don’t bleed together. Remember, you are designing for a sphere roughly 1.68 inches in diameter—every millimeter counts.
Navigating the Technical Process: From Digital to Physical
Once you have a design concept, you must navigate the production process. Most stamp creation services operate online, where you upload your artwork or use their design tools.
File Format and Specifications: Providers typically require vector files (like .EPS or .SVG) for the cleanest results, as they can be scaled infinitely without losing quality. If you only have a raster image (like a .JPG or .PNG), ensure it is very high resolution. A clear understanding of your provider’s template and size guidelines is crucial to avoid a final product that is cropped incorrectly or sized poorly.
The stamp itself is usually made from durable, laser-engraved rubber or polymer mounted on an acrylic or wooden handle. The quality of this engraving determines the fidelity of your design. A deep, precise engraving will hold more ink and produce a sharper, longer-lasting impression than a shallow one. This is where choosing a reputable vendor for your personalized golf ball stamp makes a significant difference in the final outcome.
Creative Inspiration for Your Unique Mark
Stuck for ideas? Look beyond simple initials. Consider these categories for inspiration:
- Symbolic Icons: A meaningful symbol like a compass, anchor, animal silhouette, or astrological sign.
- Lucky Charms: A four-leaf clover, horseshoe, or specific number that holds personal significance.
- Geometric Patterns: A clean series of dots, a chevron, or intersecting lines that create a distinct pattern.
- Minimalist Line Art: A single, continuous line drawing of a landmark, club, or other object.
- Sporting Motifs: A small crest, a flag, or stylized representations of other sports you enjoy.
The goal is to create a mark you’ll enjoy seeing shot after shot, season after season.
Application Technique for a Professional Finish
A great stamp can be undermined by poor application. Consistency is key. Use a dedicated, high-pigment ink pad made for golf balls, as standard office stamp pads dry out quickly and lack opacity.
- Prepare the Surface: Ensure the ball is clean, dry, and free of oils or residue.
- Ink Generously: Press the stamp firmly onto the ink pad, ensuring even coverage. Tap, don’t rub.
- Apply with Even Pressure: Hold the ball steady on a flat surface or in a stamping holder. Apply the stamp straight down with firm, even pressure, then lift directly up without twisting or sliding. Practice on old or range balls first.
- Drying Time: Allow the ink to dry completely (usually 30-60 seconds) before handling the ball or placing it in your bag. Many modern inks are formulated to be smudge-resistant and durable, but they still require a proper curing period.
Mastering this technique ensures your custom mark remains crisp and intact throughout a full round, regardless of weather or contact with other equipment. Investing in a quality ink and taking time with application elevates the entire endeavor, making your custom golf ball stamps look professionally applied rather than DIY.
Maintenance and Long-Term Care
To maximize the lifespan of your stamp, clean the rubber face with a damp cloth after use to prevent ink from drying and clogging the engraved details. Store it in a cool, dry place. Re-ink pads should be closed securely when not in use. With proper care, a high-quality stamp can last for hundreds, if not thousands, of impressions.
Frequently Asked Questions
What is the best type of ink to use on a golf ball?
Use a specialty, quick-drying, permanent ink pad designed for non-porous surfaces like golf balls or acrylic. These inks are highly pigmented, water-resistant, and formulated to adhere to the ball’s Surlyn or urethane cover without easily smudging or wearing off during play.
How many times can I use my stamp before re-inking?
This depends on the stamp size, ink pad quality, and application pressure. A standard-sized stamp with a well-saturated ink pad can typically produce 10-15 clear impressions before needing to be re-inked. For consistent results, re-ink frequently rather than trying to stretch it.
Can I stamp any brand or model of golf ball?
Yes, the process works on all standard golf ball covers (Surlyn, ionomer, urethane). However, balls with very deep or aggressive dimple patterns may cause slight interruptions in the stamped image. Smoother-covered balls provide the most uniform canvas. Always test on one ball first.
Is a custom stamp legal for tournament play?
Absolutely. The Rules of Golf explicitly allow and encourage players to put an identifying mark on their ball. A custom stamp is simply a more sophisticated and consistent method than a hand-drawn mark. Your mark must be unique enough to distinguish your ball from others.
How long does the stamped mark last?
A properly applied mark with quality permanent ink should last for many full rounds. It will eventually wear with significant abrasion from club faces, cart paths, and sand traps, but it will far outlast a standard marker pen. You can easily re-stamp a ball when the image begins to fade.
Can I create a multi-color stamp?
While technically possible, single-color stamps are overwhelmingly recommended for golf balls. Multi-color stamps require precise registration (alignment) that is extremely difficult on a curved surface and often result in blurred or misaligned images. A bold, single-color design guarantees the best readability and durability.
Conclusion
Designing your own personalized golf ball stamp is a rewarding intersection of practicality and personal expression. It solves a genuine on-course problem—quick, unambiguous ball identification—while allowing you to imprint your game with a signature touch. The journey from a simple concept to a physical tool you use every round adds a unique layer of engagement to the sport.
By focusing on simple, high-contrast design principles, understanding the technical steps from digital file to physical stamp, and mastering the application technique, you create more than just a marker. You create a reliable, professional accessory that enhances your experience, speeds up play, and makes every ball unmistakably yours. In a game often decided by the smallest of margins, the confidence that comes from such a definitive personal touch is, itself, a tangible advantage.